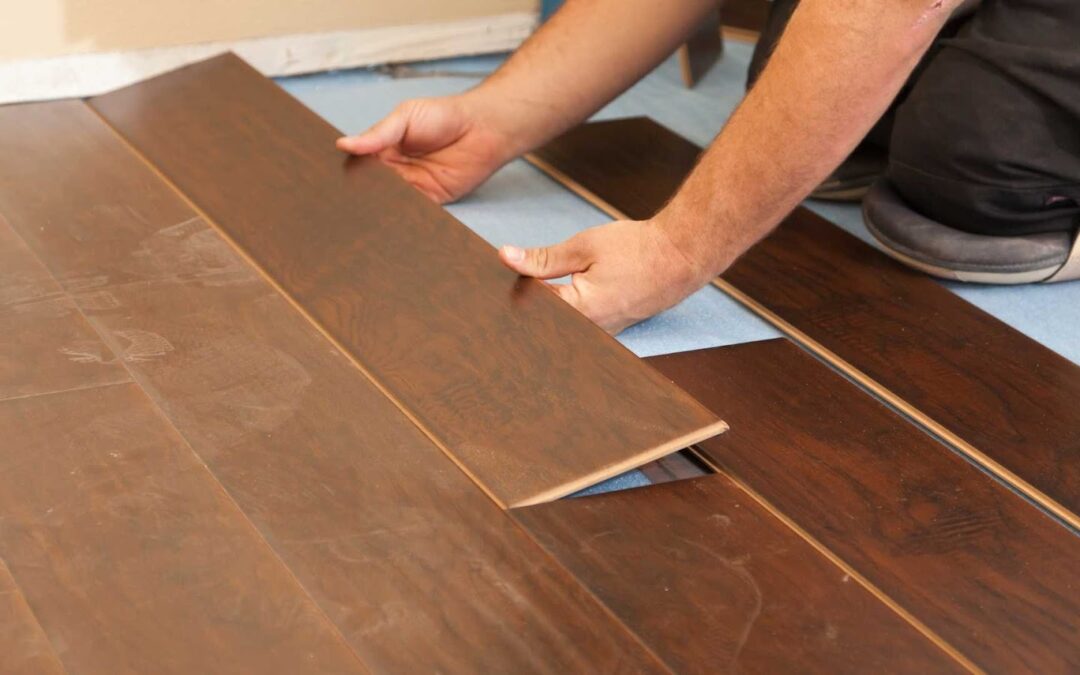
Hardwood floors add warmth, beauty, and value to any home, but like any part of your house, they need regular attention to stay in good condition. Whether you’re noticing subtle changes or simply want to stay ahead of potential issues, a thorough inspection can help you catch problems early and avoid costly repairs.
This guide walks you through a complete hardwood floor inspection checklist in a clear and practical way, so you can confidently assess your floors and understand when it’s time to bring in a professional.
Why Hardwood Floor Inspections Matter
Hardwood flooring is a long-term investment, but it’s also sensitive to environmental changes, installation quality, and everyday wear. Over time, even small issues, like minor gaps or slight warping, can develop into bigger problems if left unaddressed.
Regular inspections help you:
- Identify early signs of damage
- Maintain the appearance and durability of your floors
- Prevent expensive repairs or replacements
- Ensure your flooring remains safe and structurally sound
Being proactive is always easier (and more affordable) than fixing major damage later.
Start with a General Visual Inspection
Begin by simply walking through your home and observing your floors carefully. Look at the surface from different angles and under natural light if possible.
As you inspect your hardwood floors, take a moment to closely observe the surface for any visible signs of wear or damage.
Look for scratches, dents, or scuffs that may have developed over time, especially in high-traffic areas. Notice if there are patches where the color appears uneven or faded, as this can indicate sun exposure or aging of the finish.
Pay attention to how the floor feels underfoot-any uneven surfaces or changes in texture could signal underlying issues. Also, watch for areas that appear dull or less vibrant than the rest of the floor, as this may mean the protective finish is wearing down and needs attention.
These visible signs often provide the first clues that something may need attention.
Check here – How To Find a Floor Inspector You Can Trust
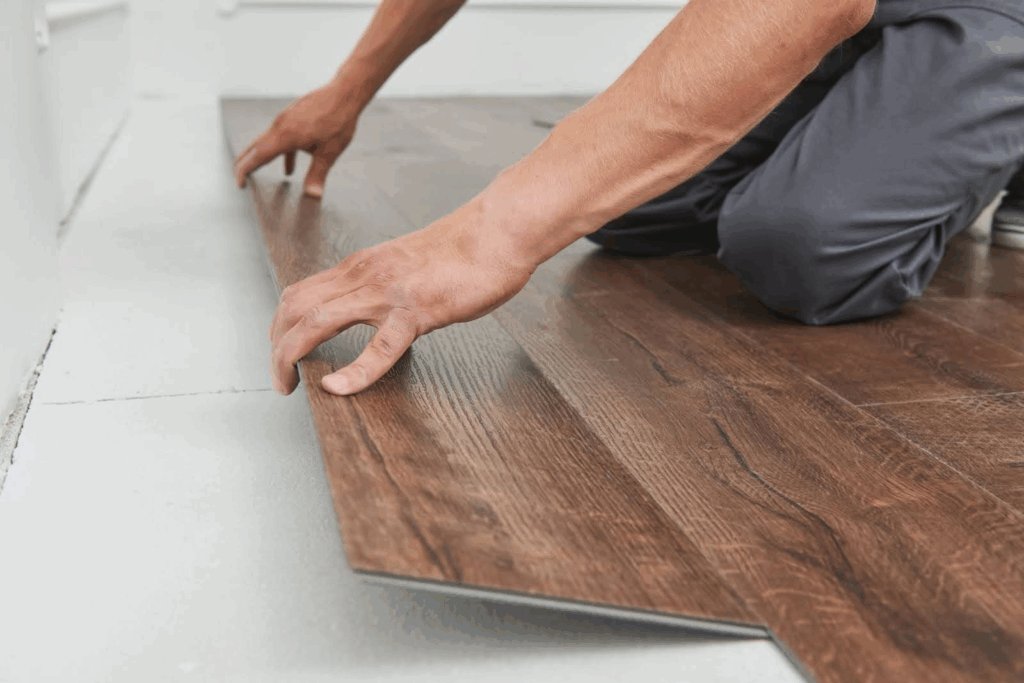
Check for Gaps Between Floorboards
Small gaps between hardwood planks can be normal, especially with seasonal changes in humidity. However, large or growing gaps may indicate a deeper issue.
Look for:
- Gaps that are wider than usual
- Spaces that don’t close over time
- Uneven spacing between boards
Excessive gaps can be caused by low humidity, improper installation, or aging materials.
Look for Signs of Warping or Buckling
Warping occurs when wood changes shape due to a moisture imbalance. This can appear in different forms, including cupping (edges higher than the center) or crowning (center higher than edges).
During your inspection, check for:
- Boards that appear raised or curved
- Uneven walking surfaces
- Areas where planks no longer sit flat
Buckling is more severe and happens when the flooring lifts completely off the subfloor. This usually requires immediate attention.
Inspect for Moisture Damage
Moisture is one of the biggest threats to hardwood flooring. Even small amounts of water can lead to long-term damage if not addressed quickly.
Moisture damage can show up in subtle ways, so it’s important to pay close attention to any unusual changes in your flooring. You might notice dark stains or water marks that weren’t there before, often indicating past or ongoing exposure to moisture.
In some areas, the floor may feel soft or slightly spongy underfoot, suggesting that water has affected the wood beneath the surface. A musty or damp odor near the flooring can also be a warning sign of trapped moisture or even mold growth.
Pay special attention to areas near kitchens, bathrooms, and entryways, where moisture exposure is more common.
Examine the Finish and Surface Wear
The finish protects your hardwood floors from daily wear and tear. Over time, this protective layer can wear down, leaving the wood exposed.
Check for:
- Dull or faded areas
- Scratches that penetrate the finish
- Peeling or flaking coating
If the finish is worn, refinishing may be needed to restore both appearance and protection.
Listen for Unusual Sounds
As you walk across your floors, listen carefully. Sounds can reveal issues that aren’t immediately visible.
As you walk across your hardwood floors, take a moment to listen carefully to any sounds they make. Squeaking or creaking noises can occur when boards rub against each other or loosen over time.
You might also notice popping sounds when stepping in certain areas, which can indicate shifting or pressure changes beneath the surface. If the floor feels like it’s moving slightly underfoot, it could be a sign of loose planks or issues with the subfloor.
These noises can be caused by loose boards, subfloor issues, or changes in humidity.
Check High-Traffic Areas Closely
Certain areas of your home experience more foot traffic than others, which can lead to faster wear.
Focus on:
- Hallways
- Living rooms
- Entryways
- Kitchen pathways
These areas are more likely to show signs of damage, including scratches, worn finishes, or minor structural issues.
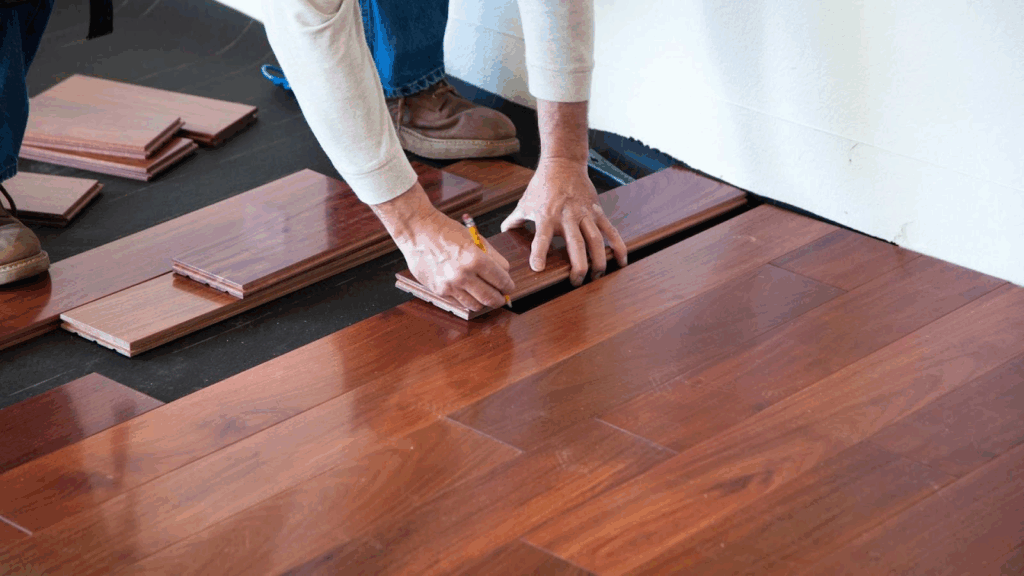
Inspect the Subfloor (If Possible)
While not always visible, the subfloor plays a crucial role in the stability of your hardwood flooring.
If you have access (such as from a basement or crawl space), look for:
- Signs of moisture or mold
- Uneven or sagging areas
- Loose or damaged support structures
Problems with the subfloor can directly impact the performance and lifespan of your hardwood floors.
When to Call a Professional Floor Inspector
While homeowners can identify many visible issues, some problems require expert evaluation. A certified flooring inspector has the tools and experience to diagnose deeper concerns and provide clear solutions.
Professional inspections can provide peace of mind and prevent further complications.
For a thorough and reliable hardwood floor inspection, consult with Floorcovering Solutions Inc. and get expert insights you can trust.
Final Thoughts
Hardwood floor inspections don’t have to be complicated. By taking the time to observe, listen, and understand what to look for, you can protect your investment and keep your floors looking beautiful for years to come.
Regular checks, combined with proper maintenance, can make all the difference. And when something doesn’t seem right, reaching out to a professional is always a smart step.
Your floors are a key part of your home; taking care of them ensures they continue to add comfort, value, and style to your space.
Frequently Asked Questions (FAQs)
Q1. How often should hardwood floors be inspected?
It’s a good idea to inspect your hardwood floors at least once or twice a year. However, if you notice changes like unusual sounds, gaps, or discoloration, you should check them right away.
Q2. What are the most common problems found during a hardwood floor inspection?
Some of the most common issues include gaps between boards, warping or cupping, moisture damage, surface scratches, and worn finishes. In some cases, problems may also come from the subfloor or improper installation.
Q3. Can I inspect my hardwood floors myself?
Yes, homeowners can perform a basic visual and physical inspection. You can check for visible damage, listen for noises, and feel for uneven areas. However, for deeper or hidden issues, a professional inspection is recommended.
Q.4. How much does a hardwood floor inspection cost?
Costs can vary depending on location and the size of the area being inspected. On average, a professional inspection may range from moderate to higher pricing depending on the complexity of the issue.
Q5. Can damaged hardwood floors be repaired, or do they need replacement?
Many issues, like scratches, minor gaps, or worn finishes, can be repaired or refinished. However, severe damage like extensive warping or structural problems may require partial or full replacement.